HOUDINI BLOG
MY JOURNEY INTO HOUDINI
ASSET CREATION WORKFLOW
26 januari 2020
PRB Asset Pipeline
Creating procedural models is something I got the hang of pretty well now but unwrapping and texturing was never part of it. This week I wanted to learn more about it. Again, I made a small guide about how to handle this topic (end of blog). It's made for the people who have never done something with texturing in Houdini before. Pretty handy in my opinion! I wanted to make a small but simple pbr asset so I know how to approach it in Houdini. I chose to model a scifi panel. My focus was to learn a bit more about the pipeline and not about getting a realistic asset with accurate materials.
Starting out
To start with I began with unwrapping some simple shapes like pipes and other similar geometry. After that I wanted to experiment with cops because it seemed very interesting to me. More about cops in the guide document (end of blog). In the end I made a sort of sphere with procedural patterns on it made in cops. Made me think of the spherical map of the movie treasure planet made by Disney, which was not my goal to make.
PBR Scifi Panel
Substance and Houdini are a perfect combination to handle pbr assets but it was a few year ago when I last touched substance. I applied some generators and filters to the scifi panel so it was textured very quickly. Generating the model in Houdini was no challenge anymore but applying textures to is was harder.
The following steps are part of my workflow:
- Modelling the prop (procedural)
- Group every part & give color id
- Bake the maps with the labs baker (custom curvature, normal & ao)
- Export to fbx
- Import fbx and maps into substace painter
- Paint in substance painter
- Rendered in substance painter
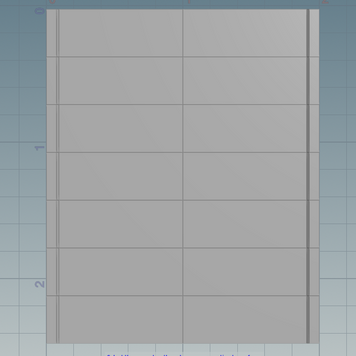
Low and high poly

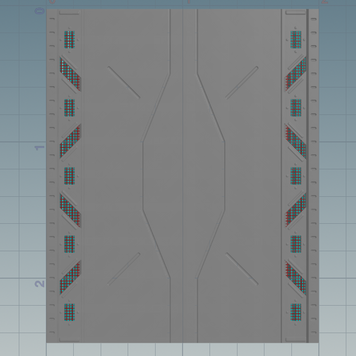
Baked maps inside Houdini
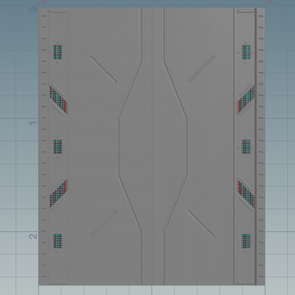
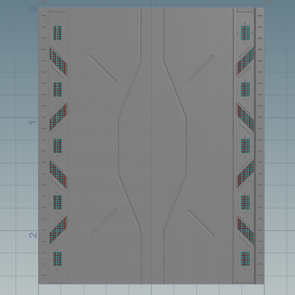
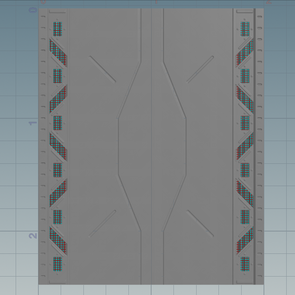
Procedural side panel
Can shange the cuts in the middle easly
Can change the size easly
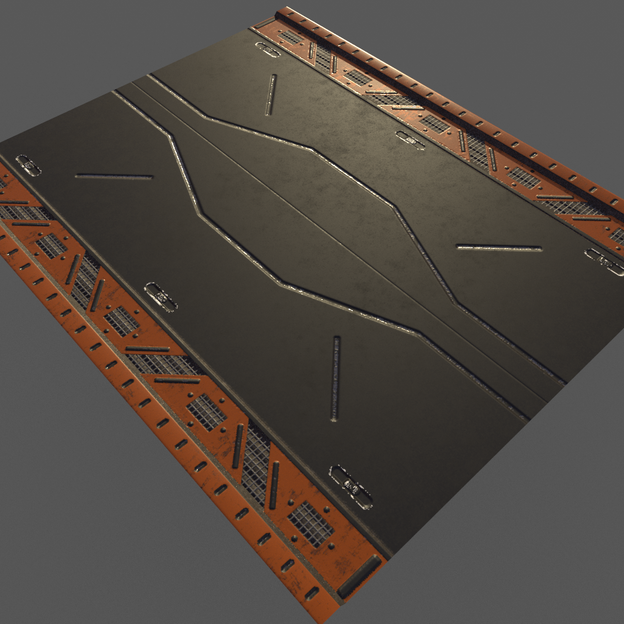
Painted and rendered in substance painter
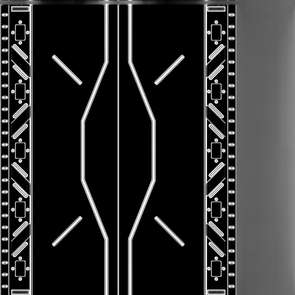
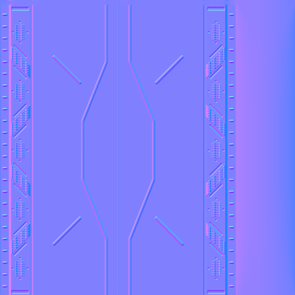
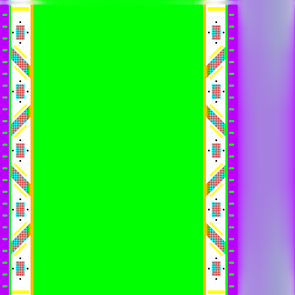
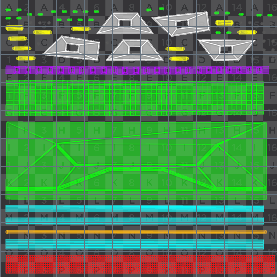
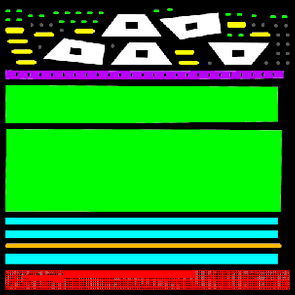
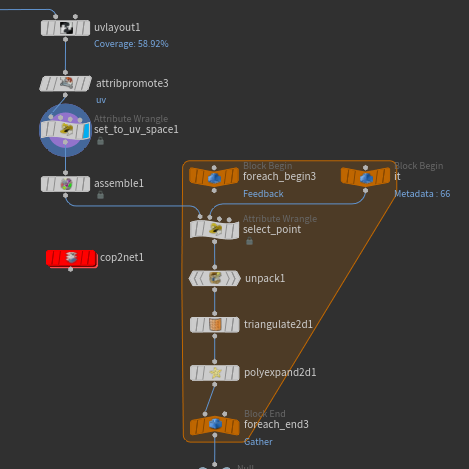
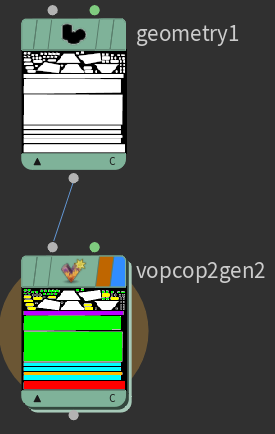
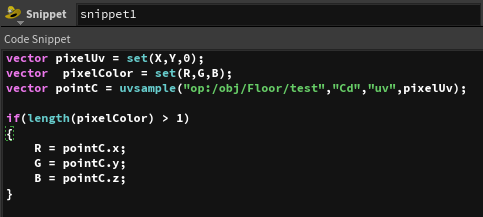
UV Edge padding
While experimenting I wanted to know how I could see my uvmap (with color id) inside cops. An extra feature I wanted to add was adding edge padding to the uvs to prevent color bleeding. More about "color bleeding" here. The end result (pic 4) was way faster than just adding color to the uv's (pic3).
After some research I came up with the following workflow (let's say this was my uvmap):
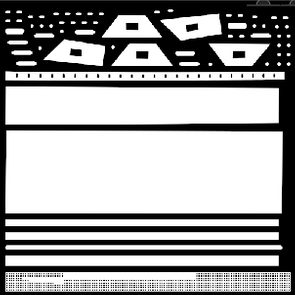
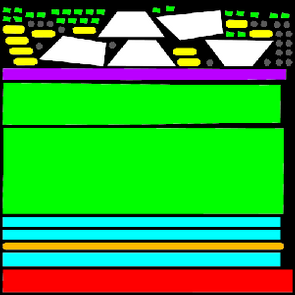
Regular uvs (1)
Uvs to texture (2)
Uvs to texture with color (3)
Uvs to texure with color and extra edge padding (4)

Guide
I'm a person who is interested in all the features that Houdini can throw at me. Sometimes it can be hard for people to understand a new topic in Houdini. That's why I made a guide, which I will update from now on and publish to this website.
For me it's handy that I don't need to search on a lot on pages to find some information. I like it when things are organised into 1 file. Hope this can be handy for some people!
<-- MAXIMIZE HERE (button)
Give time to load doc...
<-- Scrolling